Watershed's report builder comes pre-bundled with a collection of default measures: Activity Count, Interaction Count, Average Score, and Completion Count. These measures can be useful at giving you a high level view of your data, but we recommend that you create measures unique to your data that allows you to go deeper. The measure editor enables you to create and manage these additional measures for yourself in an easy to use interface.
This guide explains how to use the Measures interface to create and manage your organizations measures. The Measure Settings article gives some more information for how to configure some of the more detailed options that can be used.
Creating Measures
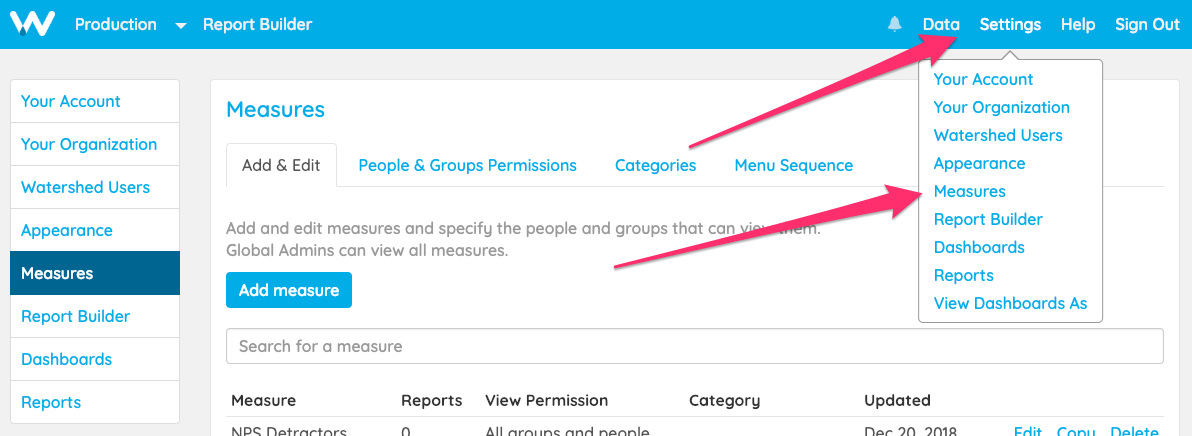
- Go to the Measures section of the Settings page.
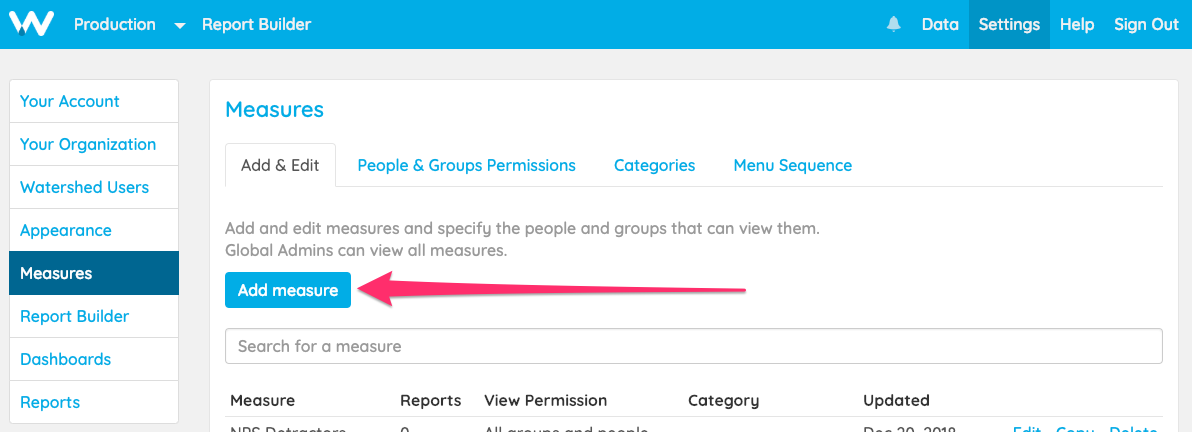
- Click the Add Measure button.
- Configure the measure as explained in the Measure Settings guide.
Editing Measure Permissions
Global Admins can control which users can see which Measures. Users with view permissions for a measure are able to see that measure when they configure reports and, if they are area admin users, are able to edit and delete that measure in Measure Editor. Global Admins have permissions for all measures regardless of settings.
Even if a user does not have view permissions for a measure, they will still see that measure in reports that have been configured to use it. They just don't see the measure in the measure drop down when adding measures to reports. (Measures can also be configured to be visible to 'All parts of your organization').
Please note: This section describes how to edit which people and groups have permissions for a single measure. To edit all the measure permissions for a single person or group, see the following section.
To edit permissions for an existing Measure:
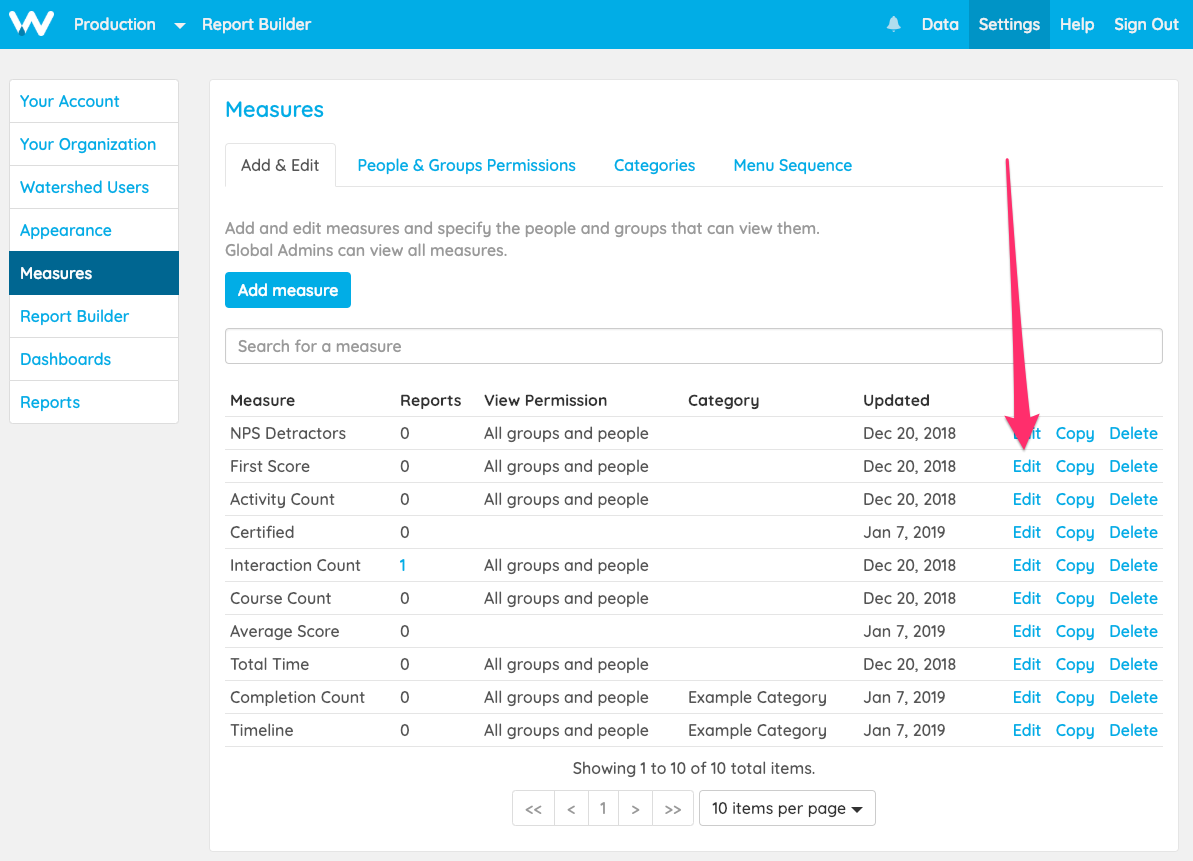
- Go to the Measure section of the Settings page.
- Click Edit next to the Measure whose permissions you need to change.
- Configure the measure as explained in the Measure Settings guide.
Editing Person or Group Permissions
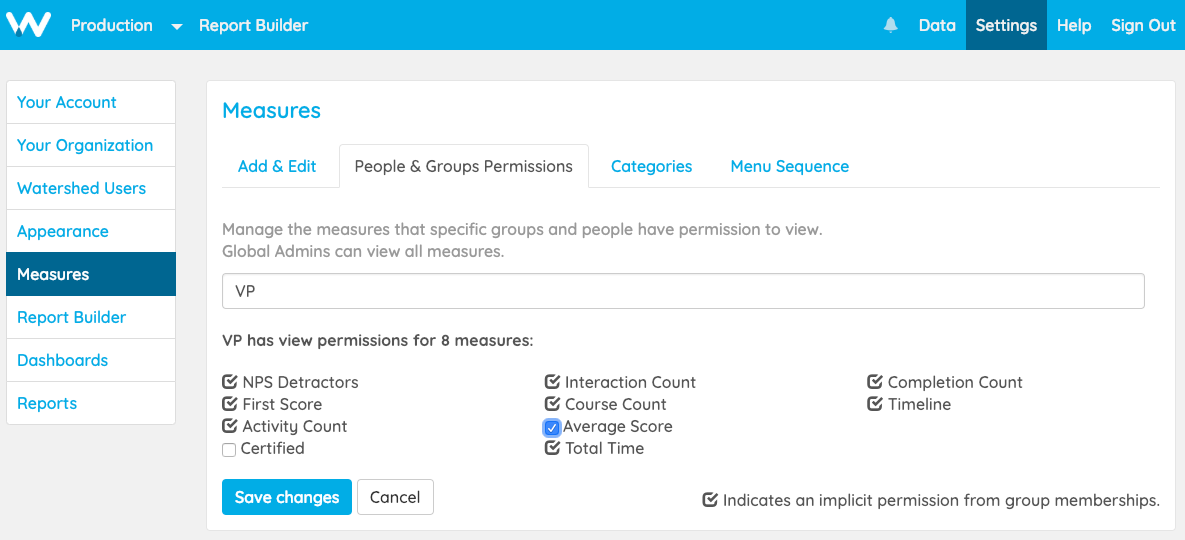
You can edit which people and groups have access to a measure by editing the measure as described above. You can also manage all of the measure permissions for a group or person using the People & Groups Permissions tab. Select the People & Groups tab and search for a person or group by name.
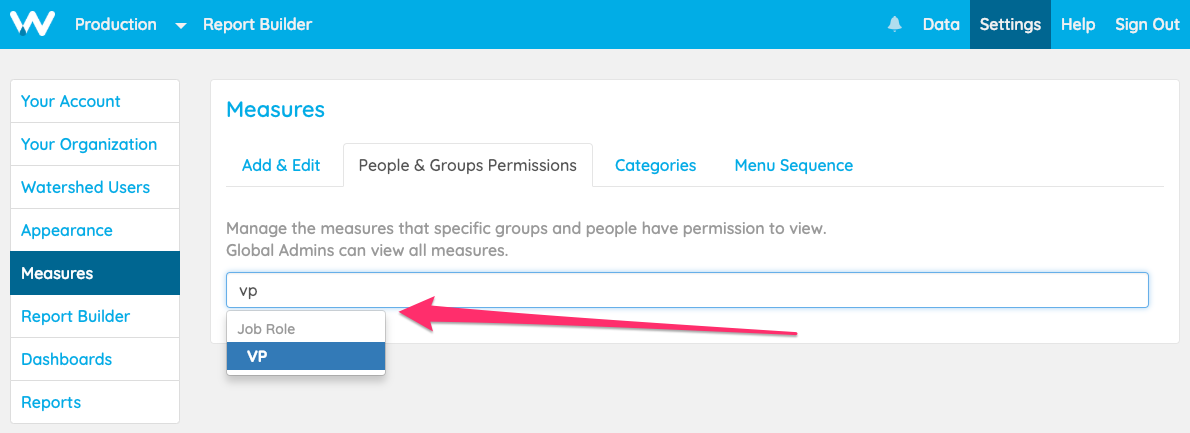
You can now select which measures the person or group has permission to access. If the person or group has permission to access the measure because a parent group they are in has permission (or if everybody has permission) for that measure, this is indicated by a black tick icon as shown.
Reordering Measures
By default, measures are listed in the order they are created. In the Menu Sequence tab of the Measure section of the Settings page, simply drag and drop the measures to place them in the preferred order, or click alphabetize to sort them in alphabetical order. Keep in mind, when you reorder measures, they'll appear in that order for all users.
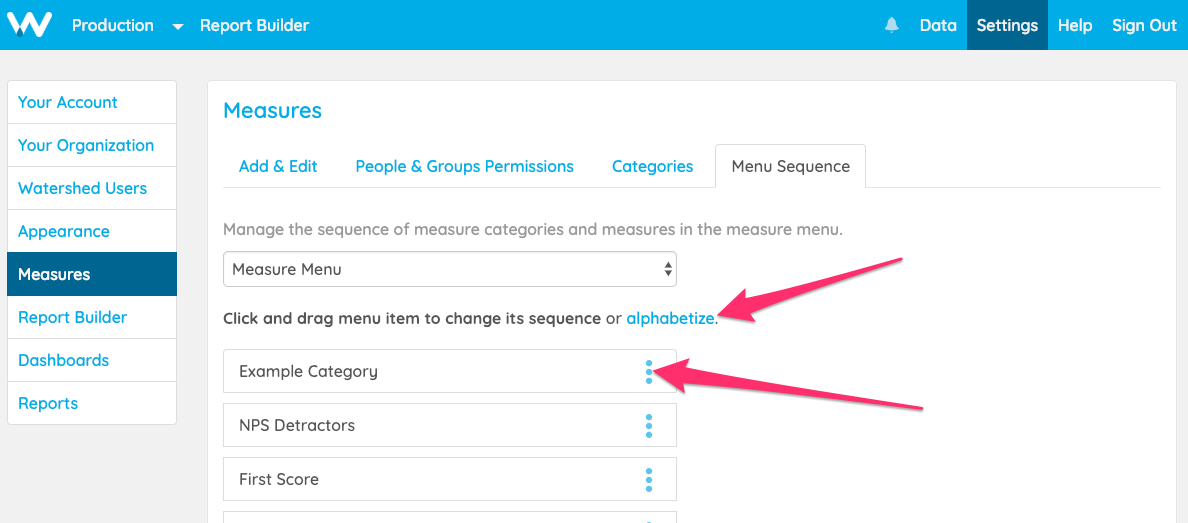
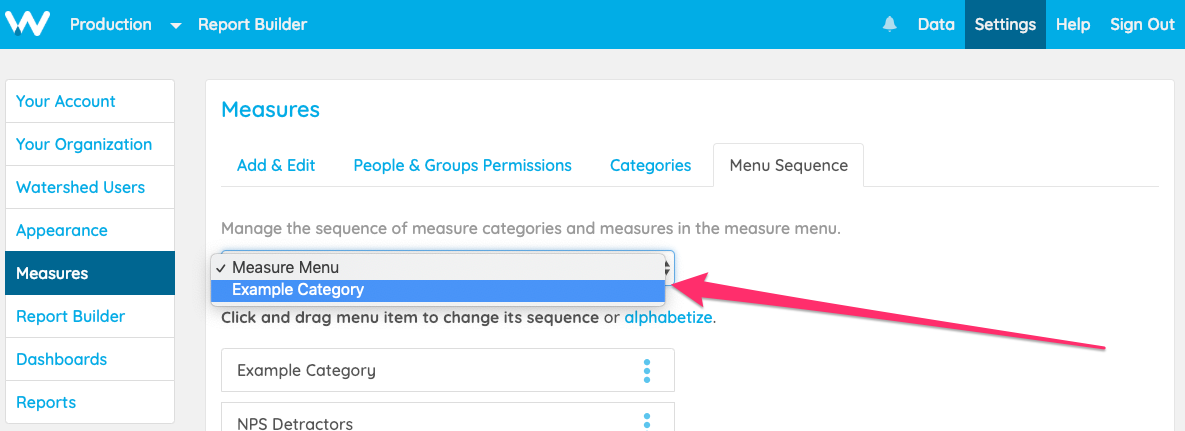
To re-order measures in within a category, select that category from the drop-down first.
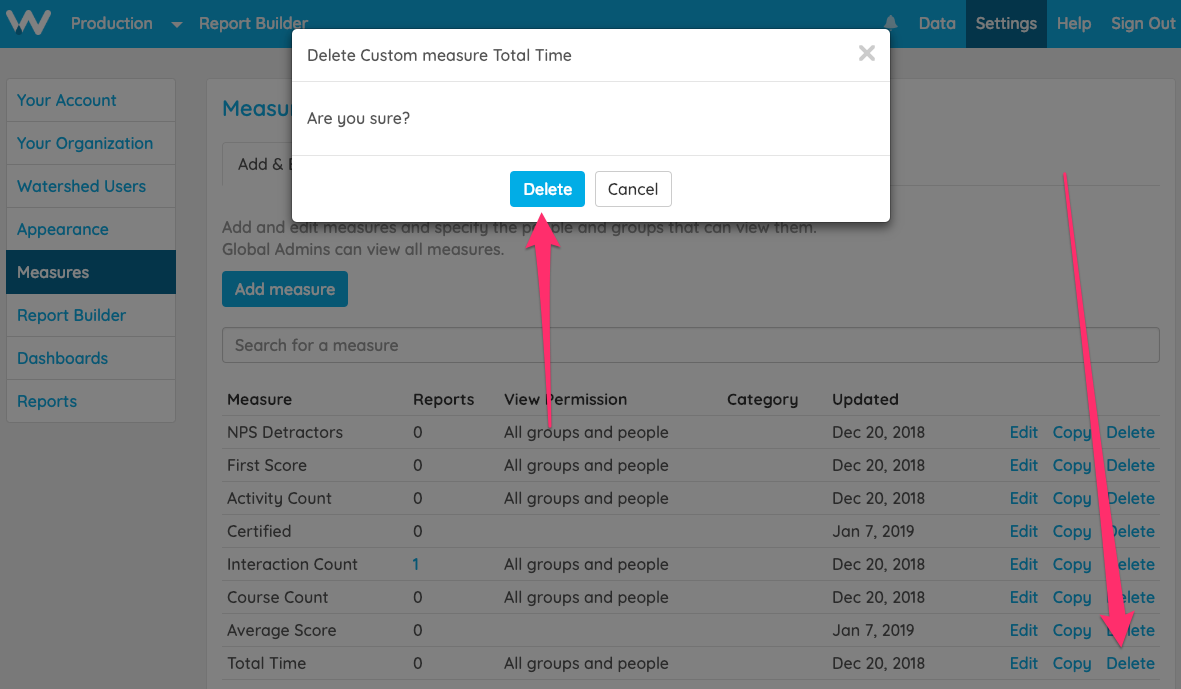
Deleting Measures
In the Measure section of the Settings page, click Delete next to any Measure you'd like to delete. This will effect everyone that can see this Measure and the measure will be removed from any reports using it.
Warning: Deleting a measure can't be undone.
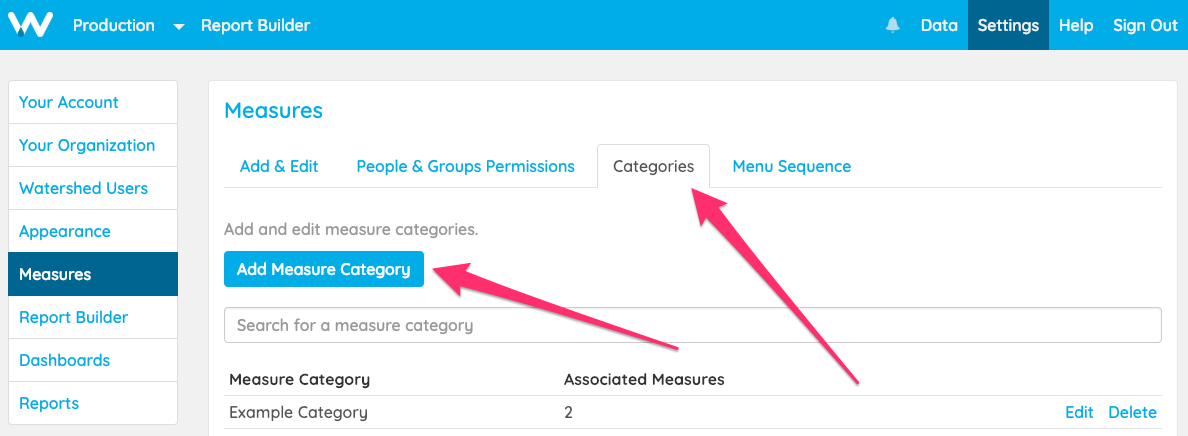
Adding Measure Categories
Measures can be kept organized using categories. Measure Categories are displayed as bold headings in the Select a Measure drop down.
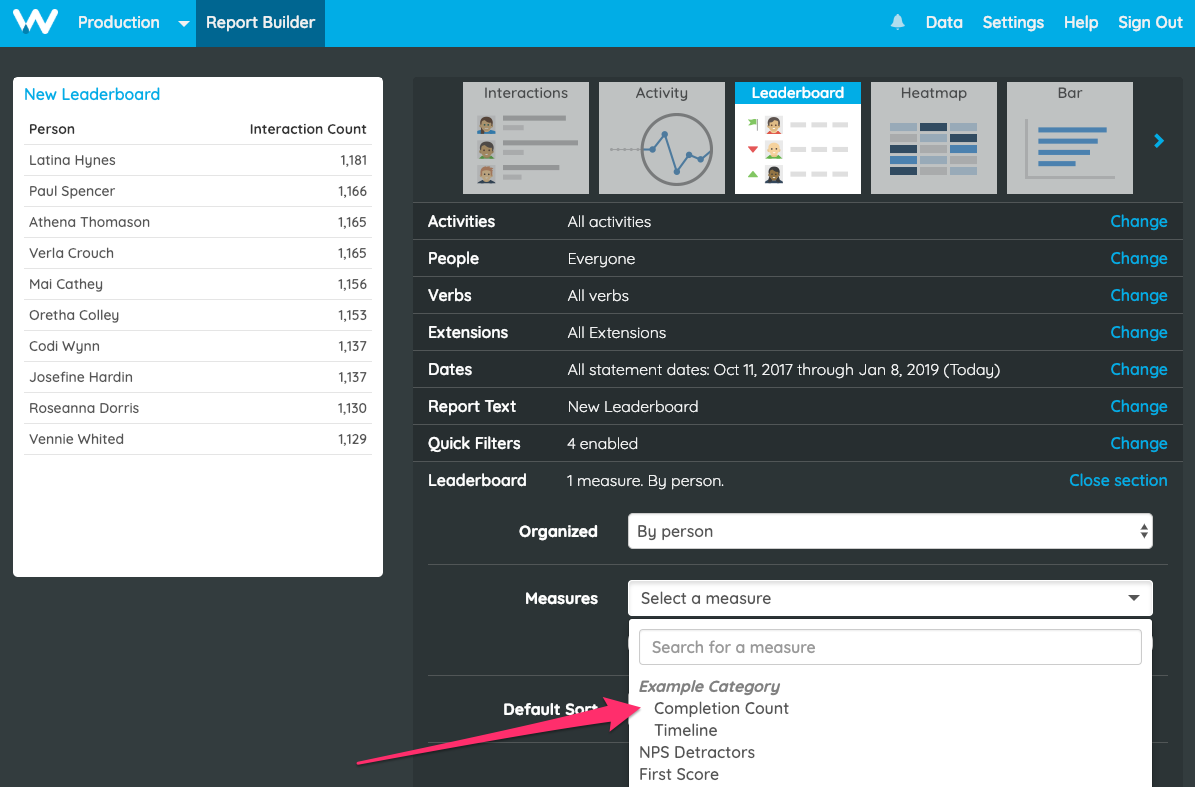
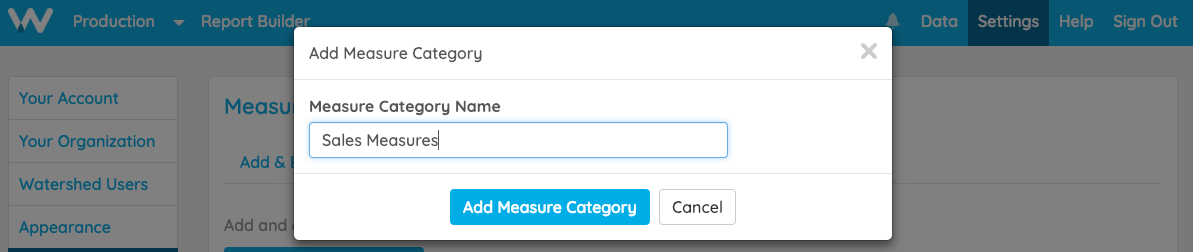
To add a category, select the Categories tab and click Add Measure Category.
In the pop up, enter the name of the category and click Add Measure Category. You can now add measures to this category either when you create them or by editing an existing measure.
Using Measures in Reports
Once you’ve created a measure that is visible to you, you can select that measure from the Measures dropdown of reports that use measures. The measure remains linked to its definition within the Measure editor, so if you make changes to the measure in the editor, those changes will be reflected in all reports that use that measure.
Please note: Updating a measure in the editor may not always cause reports using that measure to re-cache. You may need to wait before seeing the changes reflected in reports.
Editing Measures in Advanced Configuration
Sometimes you’ll want to create a generic measure in measure editor, and then customize that measure when you use it in reports. For example, you might create a generic interaction count measure and then use that measure in reports with an additional activity filter.
This walkthrough will take you through the process of doing just that. Let’s start by creating a leaderboard report featuring an interaction count measure created in measure editor. Once you’ve set that up, open advanced configuration.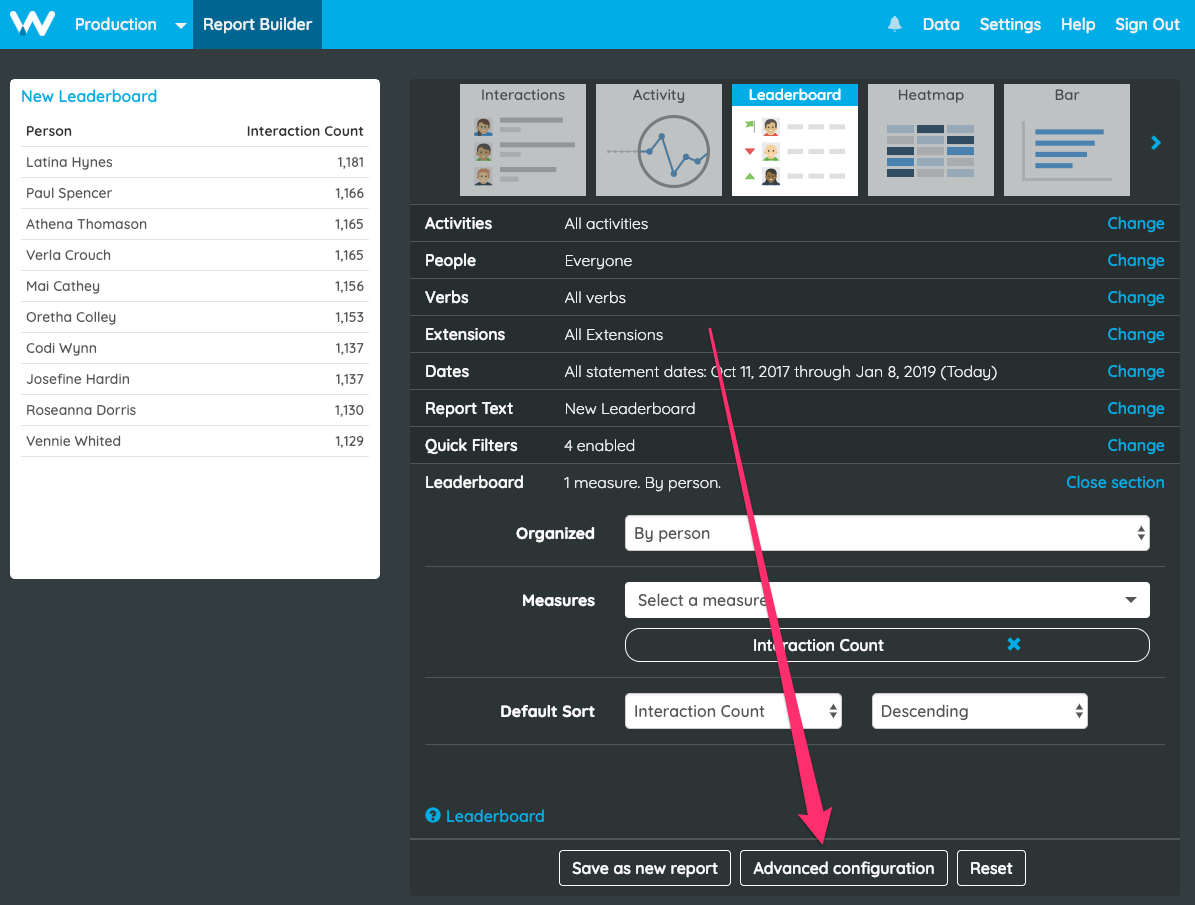
You can see that the measure has been added to the report by id. The full configuration for the measure is included for you to edit and build on, but the measure is still linked back to the measure editor with the id property. Any changes to make will not affect the report. To fix that, you need to break the link back to the measure editor. Do this by deleting the measure id property.

Once the measure id is correctly deleted, you can use advanced configuration to customize the measure. It can be helpful to use simple configuration to create the filter at report level and then cut and paste the configuration down to measure level. For example, the configuration below shows advanced configuration for the filter property of a report where an activity id filter has been added using simple configuration.
"filter": {
  "activityIds": {
    "ids": [
      "http://example.csat.assessment.example.com"
    ],
    "regExp": false
  },
  "personCustomIds": null,
  "groupCustomIds": null,
  "dateFilter": {
    "dateType": "none",
    "trailingAmount": 1,
    "trailingType": "days",
    "customDateFrom": null,
    "customDateTo": null
  }
}
We can move the activityIds property into a measure to make that activity id filter only apply to that measure and not the whole report. If the measure does not already have a filter property, you will need to add it:
{
  "name": "Interaction Count - CSAT Assessment only",
  "aggregation": {
    "type": "COUNT"
  },
  "valueProducer": {
    "type": "STATEMENT_PROPERTY",
    "statementProperty": "object.id"
  },
  "filter": {
    "activityIds": {
      "ids": [
        "http://example.csat.assessment.example.com"
      ],
      "regExp": false
    }
  }
}
Other filters such as verb, group and date filters can also be added to measures. See the Advanced Configuration guide for more details of advanced configuration filters.